Quilt Mania have printed two books by Willyne Hammerstein. I think she is the Queen of English Paper Piecing. Her designs are geometrical and a pleasure to gaze over.
The patterns demonstrated in Willyne's books "Millefiori Quilts" and "Millefiori Quilts 2" use hexagons, pentagrams, triangles - basically all sorts of shapes to give colourful kaleidoscope effects ( I love kaleidoscopes). She provides drawings of shapes required to make her quilts from which you can make templates.
I recently joined a Facebook page dedicated to La Passacaglia paper piecing (the last quilt in book 1) which has currently over 1300 members . Each week members should be showing their progress but I suspect that most haven't shown their rosettes/cogs because it does take a while to build them or they may not have started them.
The Millefiori effect is very stunning - especially those quilts using lots of colour. The trick I think is to make your cogs stand out (pop) and not drown amongst other fabrics surrounding them. Goggle Millefiori quilts and click onto images. It pays to look at lots of pictures to get a feel for what type of shapes you intend to work with.
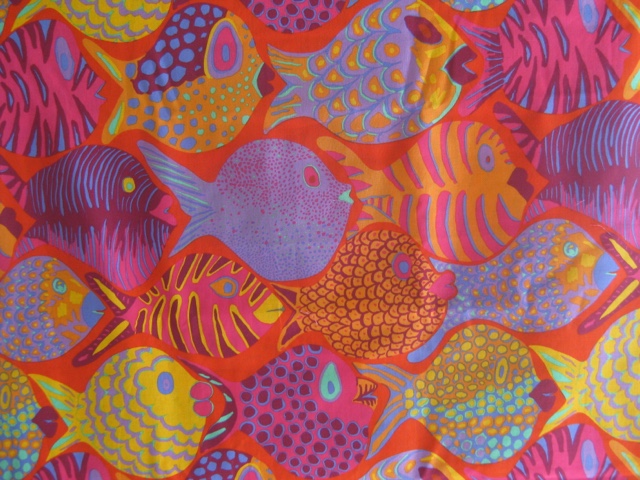
To get a true kaleidoscope effect some fabrics will require fussy cutting. It is important I think to use plainer fabrics to create places for the eye to rest.
I have been working on mine for two months. It would have been easier to use a large variety of colour but I had a bundle of black, grey and yellow fat quarters so rather than buy new fabric - started with this pack. Very limiting but is a challenge.
If you are buying fabric from which you will be fussy cutting - then I suggest you don't buy fat quarters unless there is at least 10 repeats of the image you wish to use. I have found 30cm of full width works well. BUT check first - you may need more to get the required shapes.
This is what I have made so far. I have pinned a pen onto my design wall to give you an idea of scale. Yep - two months work. Not for the faint hearted - but very exciting.
I wasn't entirely happy with the center of this cog. I do like the fabric but it just lacked a little accent. Rather than unpick and start again this is what I did:
 |
| Original Center |
 |
| Outlined part of the pattern using black pen |
 |
| Completed center |
On the back of my cog I tested several different permanent pens. Some bleed into the fabric. I eventually used a Pigma Micron 02 pen. This pen creates a 0.30mm thin line. Perfect for the job.
Millefiori paper piecing has created new excitement amongst a group of my quilting friends. We meet once a month and most have recently purchased these books as well. Maybe in a year's time I can show you the finished results.
Happy quilting friends