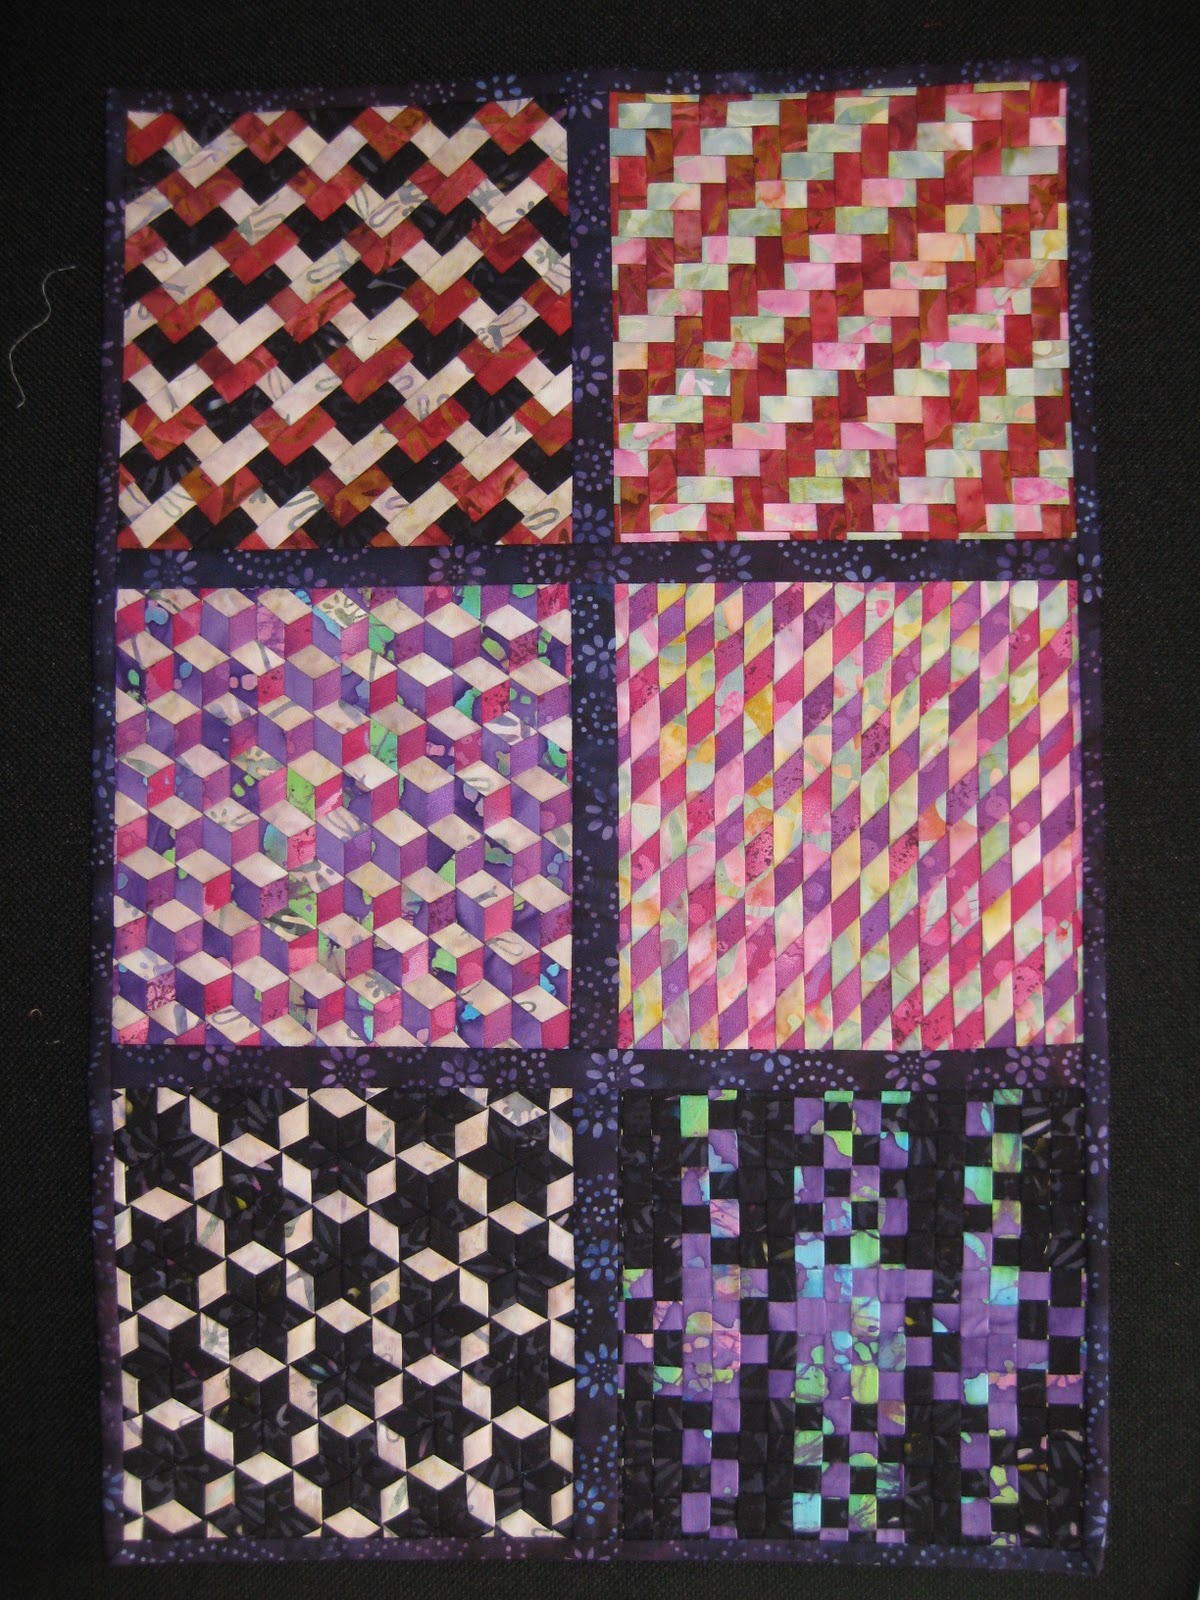
Makes a good gift as well.
Monday, 27 April 2015
Dome Needle Threader by Clover
I saw a quilter paper piecing recently at Coastal Quilters. She was using this gadget. What a fantastic idea, pre-load up to ten needles with thread and of you go to stitch group. No more cracking jokes from your friends as you miss the eye of a needle when threading.
Sunday, 26 April 2015
Millefiori Quilts - English Paper Piecing.
Quilt Mania have printed two books by Willyne Hammerstein. I think she is the Queen of English Paper Piecing. Her designs are geometrical and a pleasure to gaze over.
The patterns demonstrated in Willyne's books "Millefiori Quilts" and "Millefiori Quilts 2" use hexagons, pentagrams, triangles - basically all sorts of shapes to give colourful kaleidoscope effects ( I love kaleidoscopes). She provides drawings of shapes required to make her quilts from which you can make templates.
I recently joined a Facebook page dedicated to La Passacaglia paper piecing (the last quilt in book 1) which has currently over 1300 members . Each week members should be showing their progress but I suspect that most haven't shown their rosettes/cogs because it does take a while to build them or they may not have started them.
The Millefiori effect is very stunning - especially those quilts using lots of colour. The trick I think is to make your cogs stand out (pop) and not drown amongst other fabrics surrounding them. Goggle Millefiori quilts and click onto images. It pays to look at lots of pictures to get a feel for what type of shapes you intend to work with.
To get a true kaleidoscope effect some fabrics will require fussy cutting. It is important I think to use plainer fabrics to create places for the eye to rest.
I have been working on mine for two months. It would have been easier to use a large variety of colour but I had a bundle of black, grey and yellow fat quarters so rather than buy new fabric - started with this pack. Very limiting but is a challenge.
If you are buying fabric from which you will be fussy cutting - then I suggest you don't buy fat quarters unless there is at least 10 repeats of the image you wish to use. I have found 30cm of full width works well. BUT check first - you may need more to get the required shapes.
This is what I have made so far. I have pinned a pen onto my design wall to give you an idea of scale. Yep - two months work. Not for the faint hearted - but very exciting.
I wasn't entirely happy with the center of this cog. I do like the fabric but it just lacked a little accent. Rather than unpick and start again this is what I did:
On the back of my cog I tested several different permanent pens. Some bleed into the fabric. I eventually used a Pigma Micron 02 pen. This pen creates a 0.30mm thin line. Perfect for the job.
Millefiori paper piecing has created new excitement amongst a group of my quilting friends. We meet once a month and most have recently purchased these books as well. Maybe in a year's time I can show you the finished results.
Happy quilting friends

Quilt Mania have printed two books by Willyne Hammerstein. I think she is the Queen of English Paper Piecing. Her designs are geometrical and a pleasure to gaze over.
The patterns demonstrated in Willyne's books "Millefiori Quilts" and "Millefiori Quilts 2" use hexagons, pentagrams, triangles - basically all sorts of shapes to give colourful kaleidoscope effects ( I love kaleidoscopes). She provides drawings of shapes required to make her quilts from which you can make templates.
I recently joined a Facebook page dedicated to La Passacaglia paper piecing (the last quilt in book 1) which has currently over 1300 members . Each week members should be showing their progress but I suspect that most haven't shown their rosettes/cogs because it does take a while to build them or they may not have started them.
The Millefiori effect is very stunning - especially those quilts using lots of colour. The trick I think is to make your cogs stand out (pop) and not drown amongst other fabrics surrounding them. Goggle Millefiori quilts and click onto images. It pays to look at lots of pictures to get a feel for what type of shapes you intend to work with.
To get a true kaleidoscope effect some fabrics will require fussy cutting. It is important I think to use plainer fabrics to create places for the eye to rest.
I have been working on mine for two months. It would have been easier to use a large variety of colour but I had a bundle of black, grey and yellow fat quarters so rather than buy new fabric - started with this pack. Very limiting but is a challenge.
If you are buying fabric from which you will be fussy cutting - then I suggest you don't buy fat quarters unless there is at least 10 repeats of the image you wish to use. I have found 30cm of full width works well. BUT check first - you may need more to get the required shapes.
This is what I have made so far. I have pinned a pen onto my design wall to give you an idea of scale. Yep - two months work. Not for the faint hearted - but very exciting.
I wasn't entirely happy with the center of this cog. I do like the fabric but it just lacked a little accent. Rather than unpick and start again this is what I did:
| Original Center |
| Outlined part of the pattern using black pen |
| Completed center |
Millefiori paper piecing has created new excitement amongst a group of my quilting friends. We meet once a month and most have recently purchased these books as well. Maybe in a year's time I can show you the finished results.
Happy quilting friends
Wednesday, 22 April 2015
Spinning Stripes
This fabric arrived in the shop today. Perfect for spinning stripes. I love the splotches of colour within these stripes. Would look awesome with this technique.
Saturday, 18 April 2015
Spinning Stripes Class with Coastal Quilters
I had an exciting day with nine Coastal Quilters today at Plimmerton School teaching my spinning stripes class. The photos display their original fabric followed by block placement. These blocks may not appear in their final placement, however this gives you an idea of the fun to be had with this technique.
When you start - you have no idea how your quilt will finish - bit like a jigsaw puzzle.
Can't wait to see these quilts completed.
When you start - you have no idea how your quilt will finish - bit like a jigsaw puzzle.
Can't wait to see these quilts completed.
Thursday, 9 April 2015
1000 Quilt Inspirations
I'm so excited - this arrived via courier today.
1000 Quilt Inspirations by Sandra Sider. A book full of quilt photos - from Traditional, Modern to Art quilts. Selections have been made from International Quilt Festivals dating from 1860 to 1930s, Photographs of quilts from the Gundersheimer collection 1910 - 1930s and 30 photographs from the Authors own quilts. Also included are contributions from quilters from the following 16 countries:
Australia, Canada, Czech Republic, Denmark, Germany, Israel, Japan, Netherlands, New Zealand, Saudi Arabia, South Africa, Spain, Sweden, Switzerland, United Kingdom, United States of America,
Two of my quilts have been included. Time for a coffee break and to get lost amongst these wonderful photographs. Thank you Sandra Sider for keeping us inspired.

1000 Quilt Inspirations by Sandra Sider. A book full of quilt photos - from Traditional, Modern to Art quilts. Selections have been made from International Quilt Festivals dating from 1860 to 1930s, Photographs of quilts from the Gundersheimer collection 1910 - 1930s and 30 photographs from the Authors own quilts. Also included are contributions from quilters from the following 16 countries:
Australia, Canada, Czech Republic, Denmark, Germany, Israel, Japan, Netherlands, New Zealand, Saudi Arabia, South Africa, Spain, Sweden, Switzerland, United Kingdom, United States of America,
Two of my quilts have been included. Time for a coffee break and to get lost amongst these wonderful photographs. Thank you Sandra Sider for keeping us inspired.
Saturday, 28 March 2015
Quilt as you Go
Do you have difficulty manipulating a large
quilt on your sewing machine or are you concerned you may damage applique,
embroidery or embellishments on your quilt when quilting? Or maybe you have your quilt tops professional quilted and over time this has become expensive.
Here's a great idea that could inspire you to make a quilt from start to finish without the struggle of machine quilting an entire quilt at once.
Quilt as you go is a technique which
allows you to sew and quilt a block then join them together with what appears
to be thin sashing strips both on the front and back of your quilt.
Here are samples of where I have used this method and why.
Quilt as you go can be a great way of using up scrap batting and fabric. Once you have sewn your last block together all you have left is the binding.
At any point you can make a quilt larger by removing the binding and building additional borders or replace boarders that have been damaged. Its a very clever idea.
If you haven't tired it - you should give it a go.

| Sample for my class using elongated half log cabin and half square triangles |
| The back - notice joining strips are the same as the backing fabric |
| Front of kimono quilt. Each block has been joined using the quilt as you go method to prevent damage to applique and recycled kimono. |
| The back of the kimono using different fabrics |
| A traditional quilt as you go block. Very easy to make and very effective |
| I had tried to dye flannel to make a marble effect. Wasn't successful but looks ok on the back of this quilt. |
| Quilt as you go creates a sashing appearance. |
| Delicate meshwork joined together using this method. |
| Machine embroidery on silk blocks sewn together using this method. |
Quilt as you go can be a great way of using up scrap batting and fabric. Once you have sewn your last block together all you have left is the binding.
At any point you can make a quilt larger by removing the binding and building additional borders or replace boarders that have been damaged. Its a very clever idea.
If you haven't tired it - you should give it a go.
Monday, 9 March 2015
Nutex Wholesalers and Riley Blake Designs weekend.
Nutex Wholesalers Ltd in Auckland NZ held a two day Riley Blake Designs workshop presented by Cindy Cloward and Jina Barney from Riley Blake.
We had several make and take samples which included working with laminate and knit fabrics. They also presented their new fabric lines (very exciting).
We also got to check out the quilter's ultimate stash - the Nutex warehouse and then there was the sample room. oooh lala.
Explore Rileyblakedesigns.com web site, also visit their blog. Lots of inspirational things to make especially with their free patterns available in the section called cutting corners, 101 courses.
Great ideas for gifts.
I started using Instagram four months ago and go under the name of dontwaittocreate.
Happy stitching.

We had several make and take samples which included working with laminate and knit fabrics. They also presented their new fabric lines (very exciting).
We also got to check out the quilter's ultimate stash - the Nutex warehouse and then there was the sample room. oooh lala.
![]() |
| Laminated toilet bag, wine or oil bottle present bag and a small gift bag. |
![]() |
| inside laminated toilet bag. |
![]() |
| Knit toddlers skirt, head band and hexagami flower (top right) |
Great ideas for gifts.
![]() |
| Jay, Christine and Cindy during a workshop |
![]() |
| Group shot on the last day. I'm at the top of the stairs. If you use Instagram, Riley Blake and Nutex check out their #tags displayed at the bottom of this picture. |
![]() |
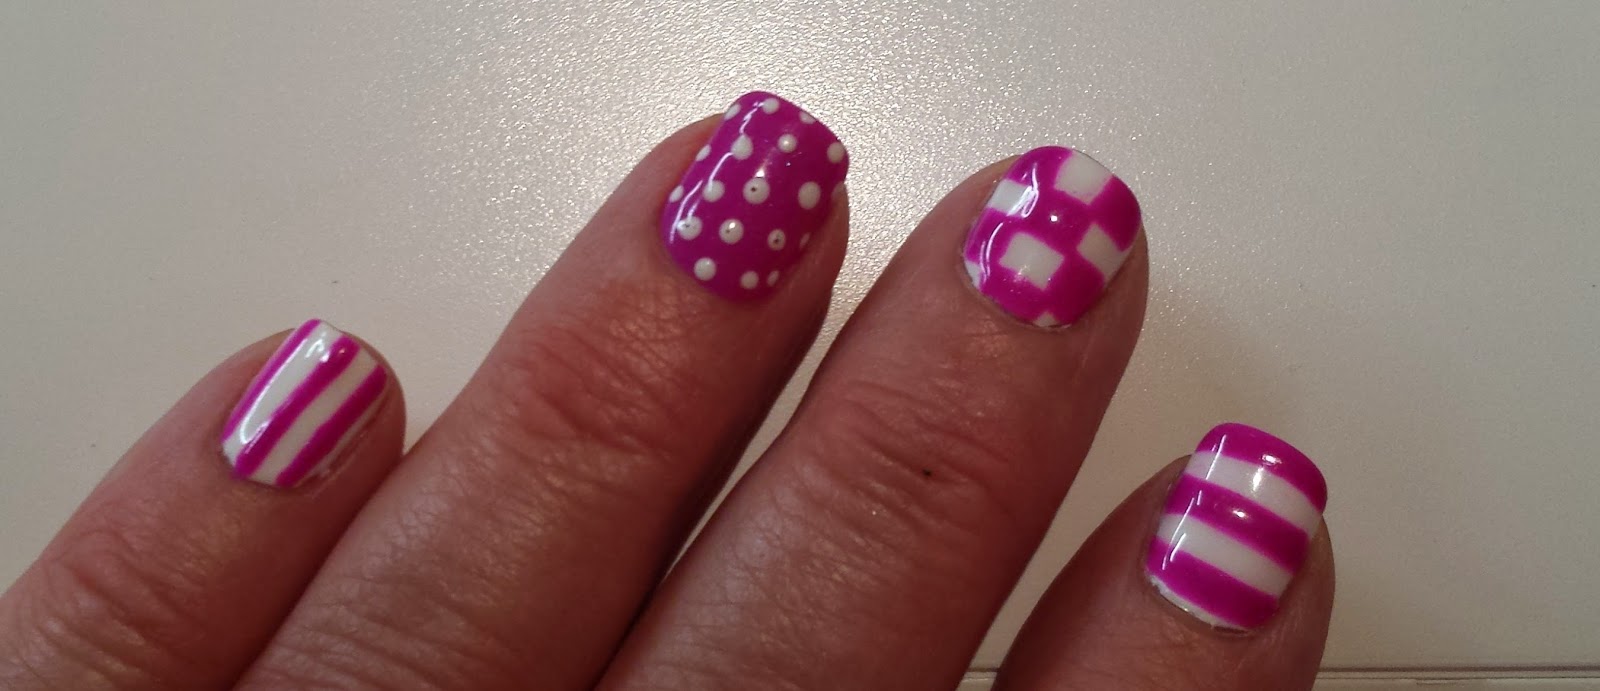
| Had my nails painted like quilt blocks. |
Happy stitching.
Subscribe to:
Posts (Atom)