Monday, 18 November 2013

Photo Interpretation Class

I haven't been hiding - in fact I'm snowed under doing various creative things that will be revealed next year.

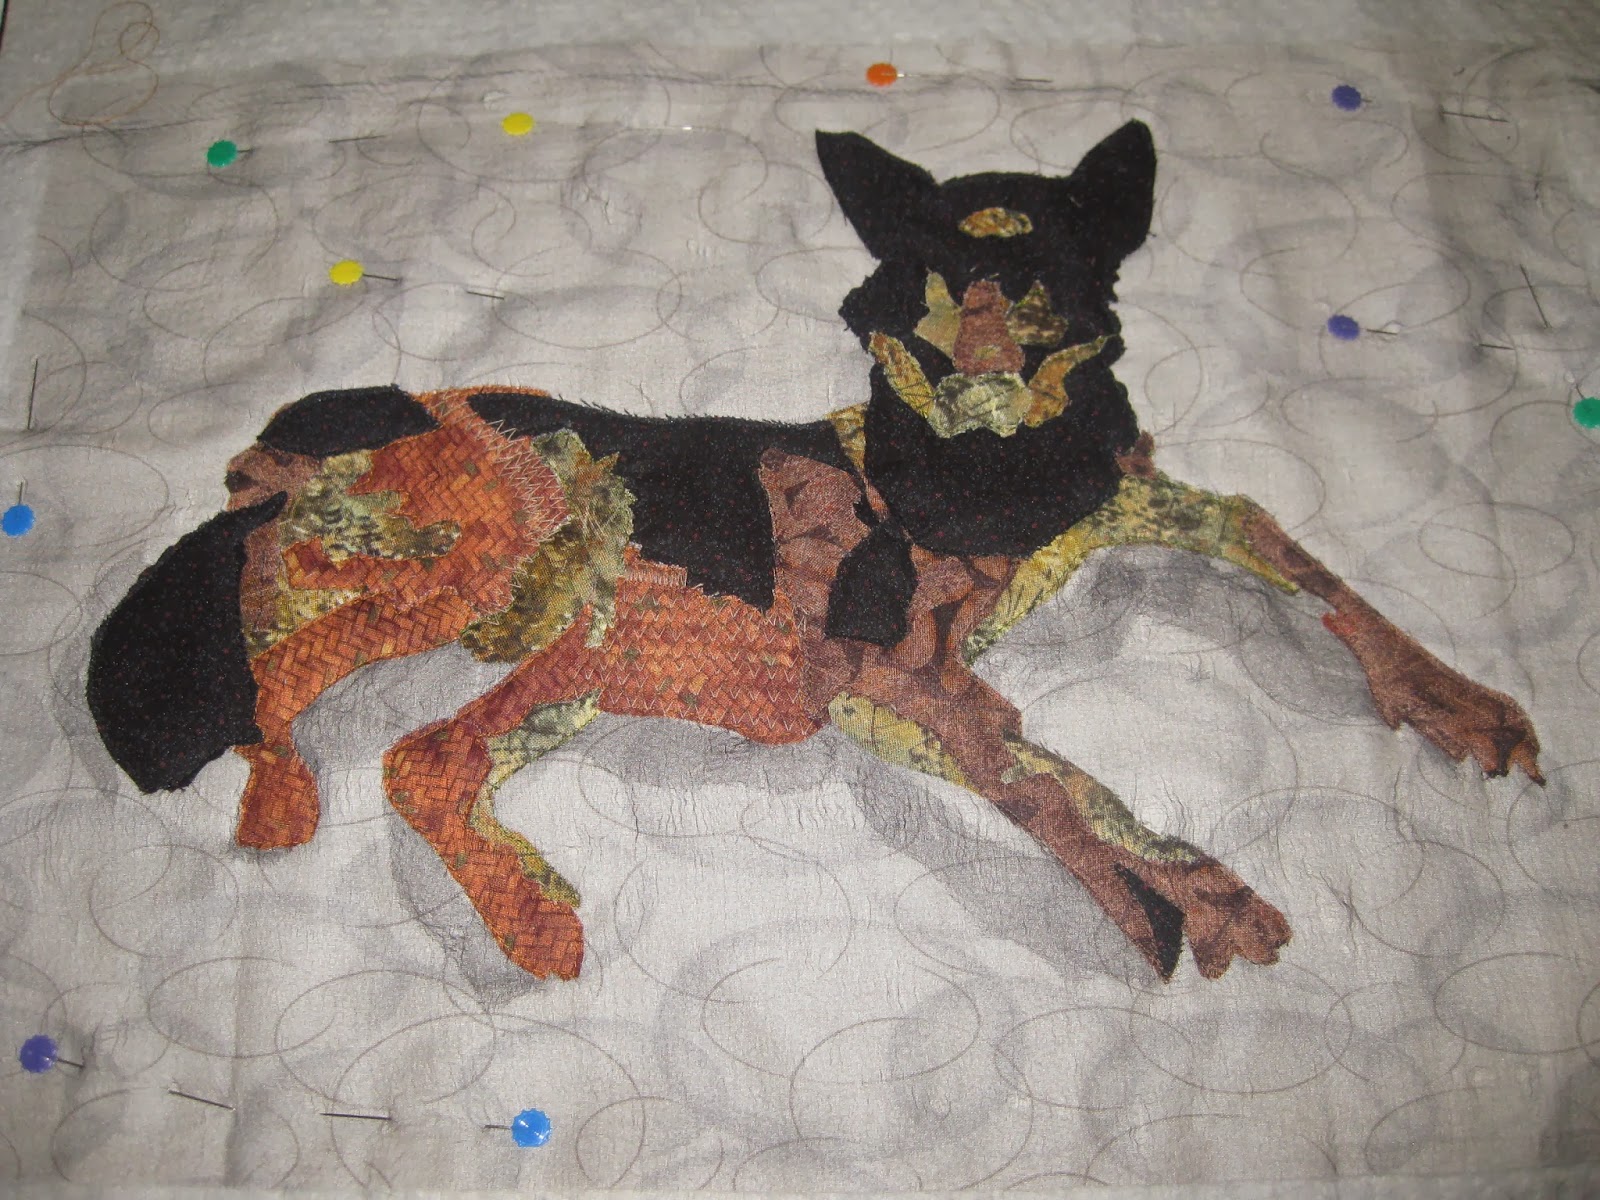
But on Saturday - we had some fun in my Photo Interpretation class.  Students are encouraged to choose a very simple image but as always  - there is always one who tests her boundaries.

Check out these photos.


Making an animal or human image is incredibly tough.  Not bad for first attempt.


More detail appears once more infill stitching has been completed.  You can see the start of the leaf formation happening here.

Lotus flower - unfortunately I couldn't turn this photo around.  The detail of this flower is stunning.  
Close up of the lotus flower

Shirls

Saturday, 12 October 2013

Singer Assignment

Earlier this year I was asked to make a "story" (display) for Singer Sewing Machines to be used as a display at trade shows and fairs.  A story is a collection of items that are related either by fabric, colour, appearance or subject.  One rule.  Items must be made using a Singer Sewing Machine.

My theme:
I used Singer's brand colour - Red (for impact) and my fabric choice was Dupion Silk.  I prefer the rough texture of dupion as opposed to flat silk. Silk doesn't fade and the colours are always rich and vibrant.


I used Simplicity 2478 for the Evening Jacket.  On the Lapels I embroidered a red rose from the Singer Future Lace Embroidery Collection.

To compliment the jacket I made a fascinator using Clover's "Sweetheart Rose Maker" (Art no. 8472) using the same red dupion silk.  Added to this I added a comb, printed mesh and silver thread.

To complete the "First Story" I made a clutch bag using a range of dupion silk colours and braid.  This clutch is my own design with a covered button and machine embroidered flowers completing it.


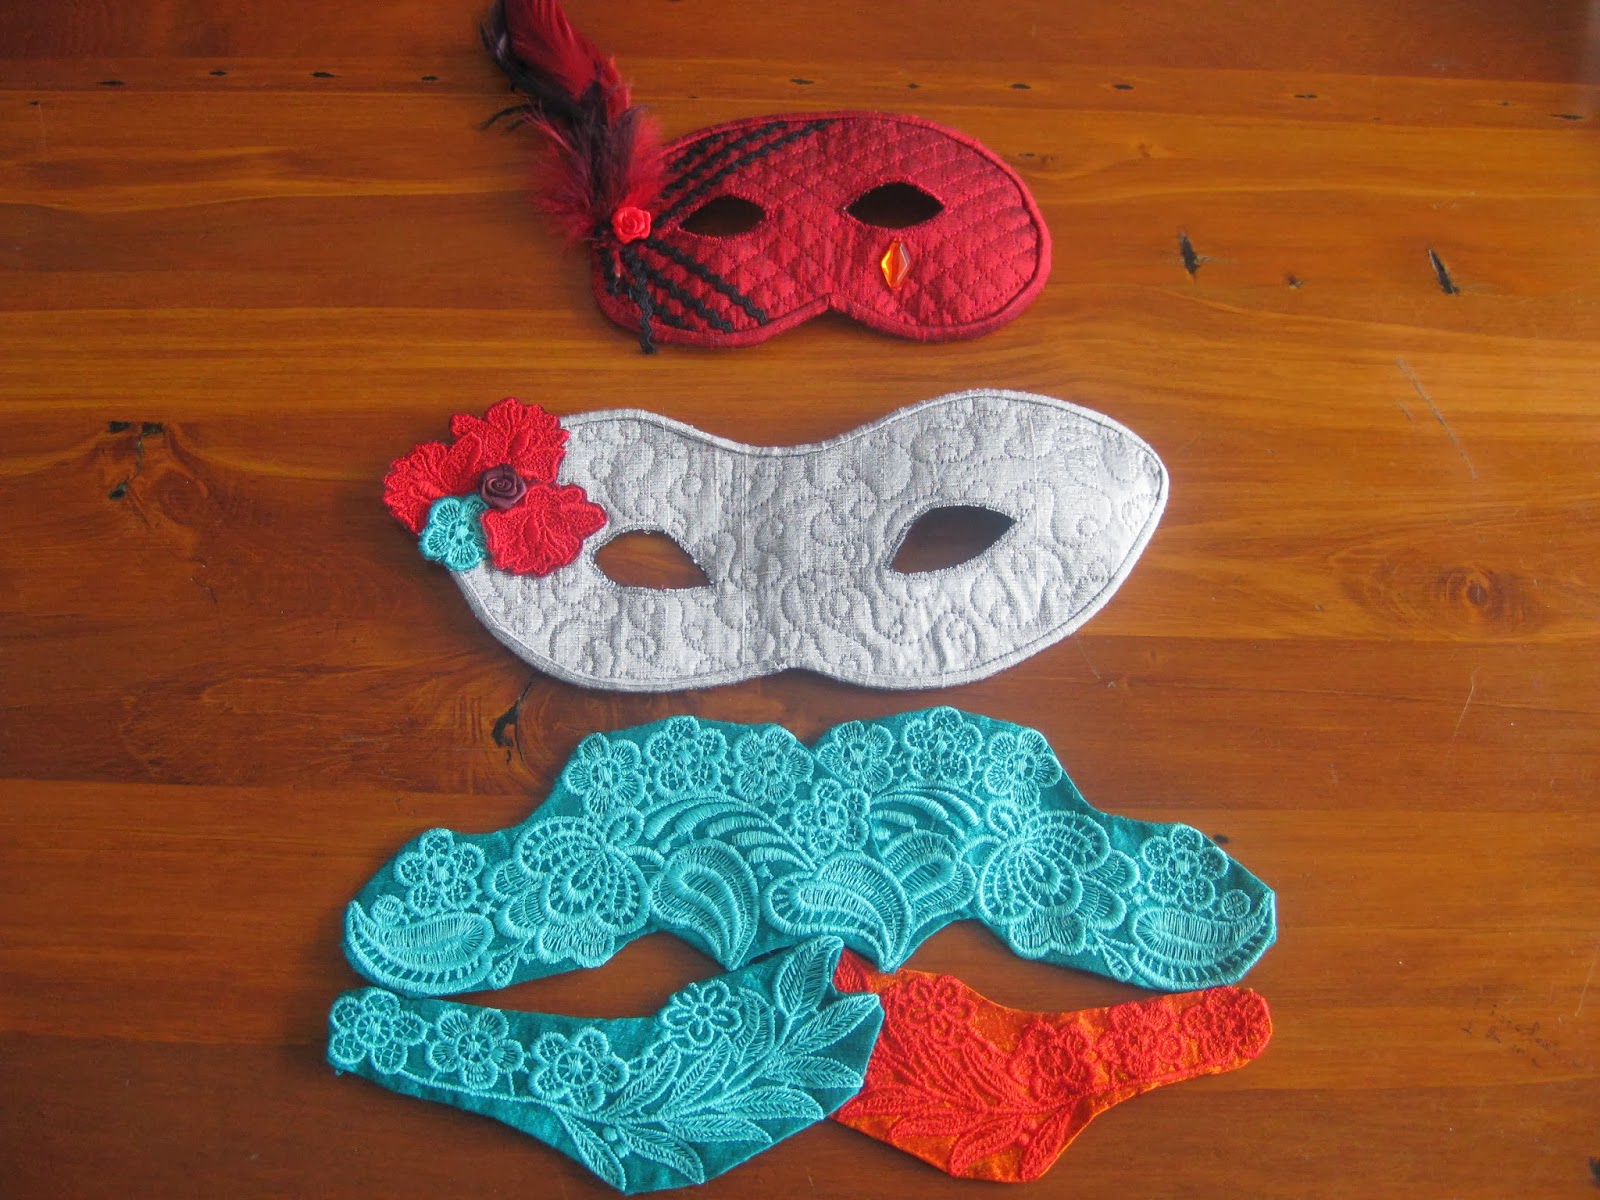
My second "Story" is a range of masks all made from dupion silk and using various machine embroidery lace designs.


To give the masks shape, I used black wool batting soaked in Powertex Product, moulded onto mask moulds and left to dry for several days.


To secure the mask backs to fronts I used small pieces of Velcro.

 The third story is made up of the Evening Jacket, Fascinator and Red Mask

 Hopefully I will get pictures of these pieces on display at the next craft fair.
Shirls
Machine quilting for beginners

I'm having problems with this blog.  I've lost my class list and am unable to repost it.  Hopefully BlogSpot will sort this out soon.

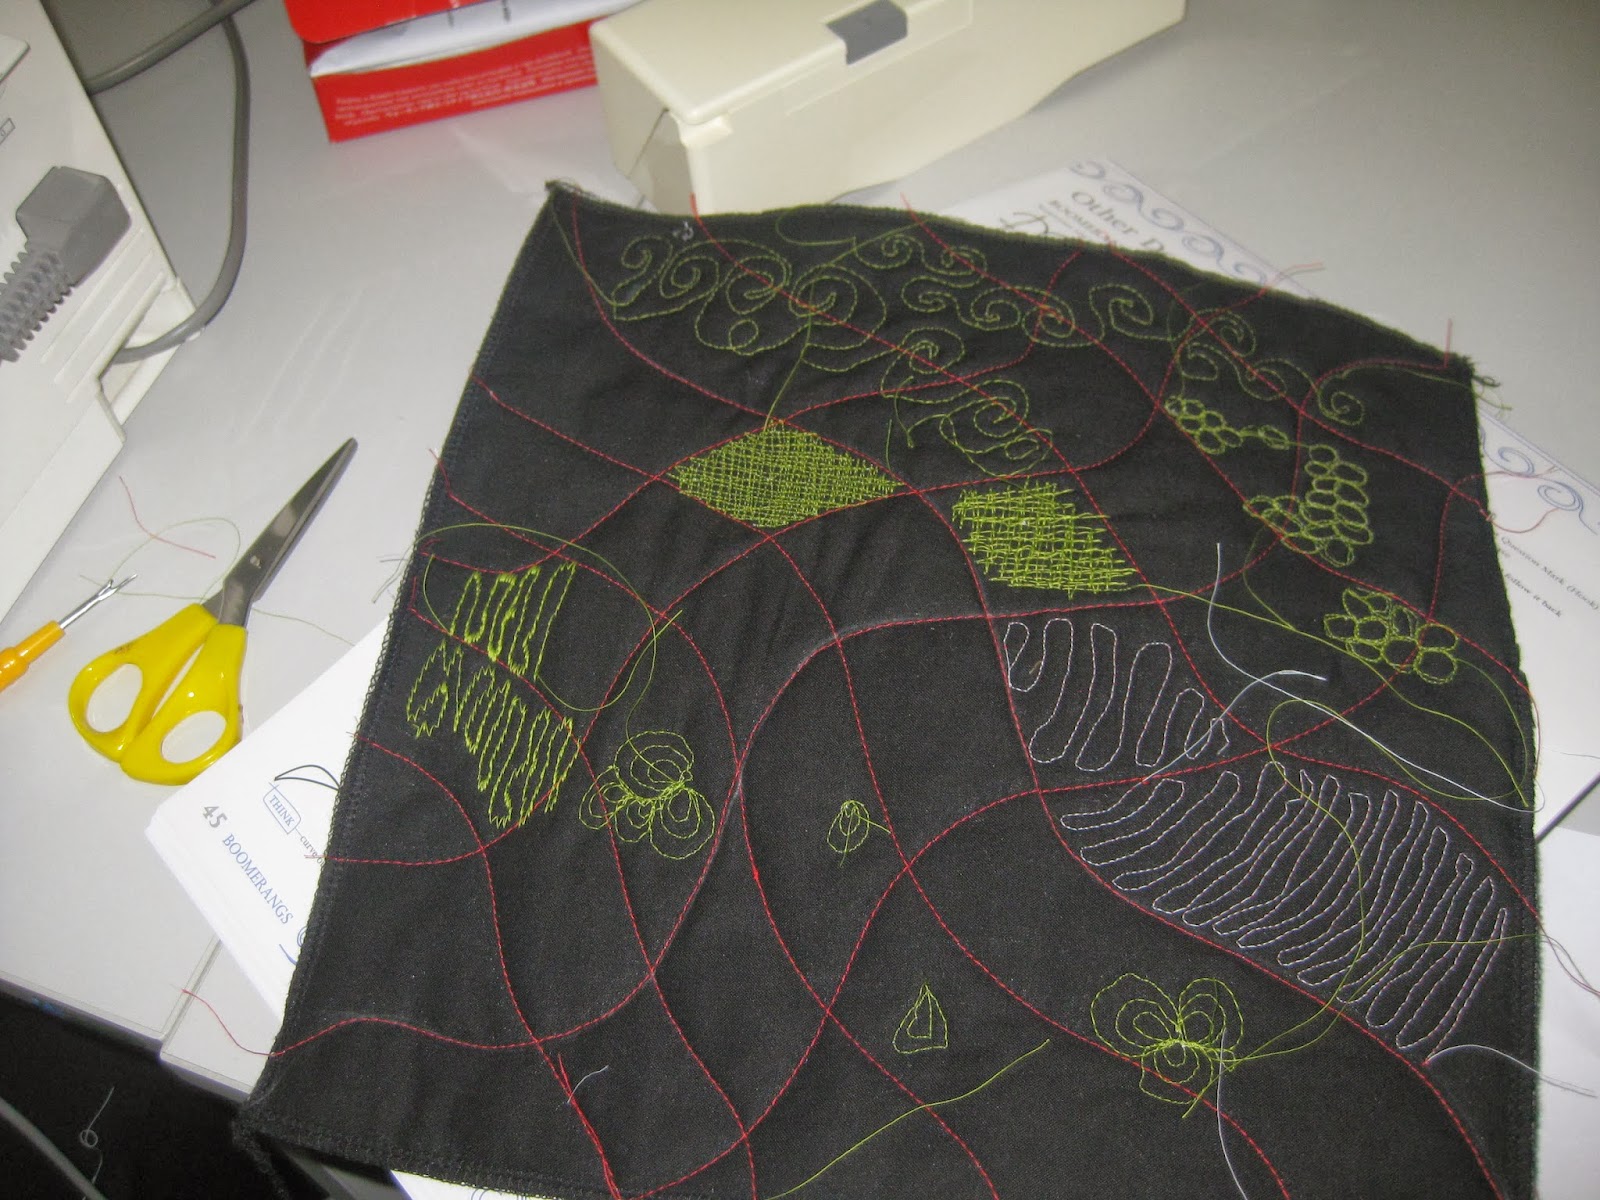
We are nearing the end of this years classes.  Today machine quilting for beginners.  There is always a  surprise or two as students surprise themselves on their ability.

Check out these pictures.


"Machingers" gloves - supplied by Quilters Touch.  Recommended for machine quilting.
Now lets see if I can get BlogSpot to behave.  Happy quilting friends.


Monday, 7 October 2013

Japanese Meshwork

I never seem to tire teaching this awesome technique. Here are a couple of pictures from Saturday's class.


Shirls

Saturday, 21 September 2013

Applying borders - day two Beginners class

Another exciting day at Wellington Sewing Services. Attaching borders to quilt centres - ready for machine quilting.  Very industrious.
Quilt centre - queen size
quilt centre lap quilt size


quilt centre cot size


piano key border on lap quilt size
piano key border


Clover chalk marker - very easy to use.  This quilt is being backed with polar fleece.
 Note - if using polar fleece for backing you don't really need to insert batting.  However it is recommended to wash fleece first.  Makes for a cuddly quilt.  Diagonal grid quilting hides  imperfect block joins.  However it must be said that these ladies were pretty spot on using the double pin seam method mentioned in previous post (June 2013).
Now back to my couple of new projects.  Will show these in the next coming months.
Happy quilting Shirls

Friday, 13 September 2013

Update on last weeks beginners class

I love the enthusiasm of ladies learning to patchwork for the first time and their fabric choices.


Thursday, 8 August 2013

Kaleidoscope class Day One Sawmillers


Day one is always exciting.  We spend four hours cutting our fabric before the transformation of blocks appear.  First two pictures show's Mary's fabric and how once cut, they turn into spinning blocks.


Quite often I have two students working with the same fabric.  Their quilts and blocks never look the same since each block can be turned into three different designs.  Its up to the quilter to decide which block design will be included into their quilt.


Day two at the end of this month will be exciting. Till then, happy quilting.

Shirls